

scifidesigner
-
Posts
100 -
Joined
-
Last visited
Content Type
Profiles
Blogs
Forums
Gallery
Pipeline Tools
3D Wiki
Plugin List
Store
Downloads
Posts posted by scifidesigner
-
-
Thank you. In R26 it's under modes. I was thinking maybe I accidentally clicked some alt+ key combination but I didn't. It will always remain a mystery to me how this happened.
 0
0 -
1 hour ago, MJV said:
Sounds like the Use Deformer's active/inactive switch somehow got turned off.
That's weird. I don't have any button for it anywhere in my workspace. Is there any other way to toggle it?
 0
0 -
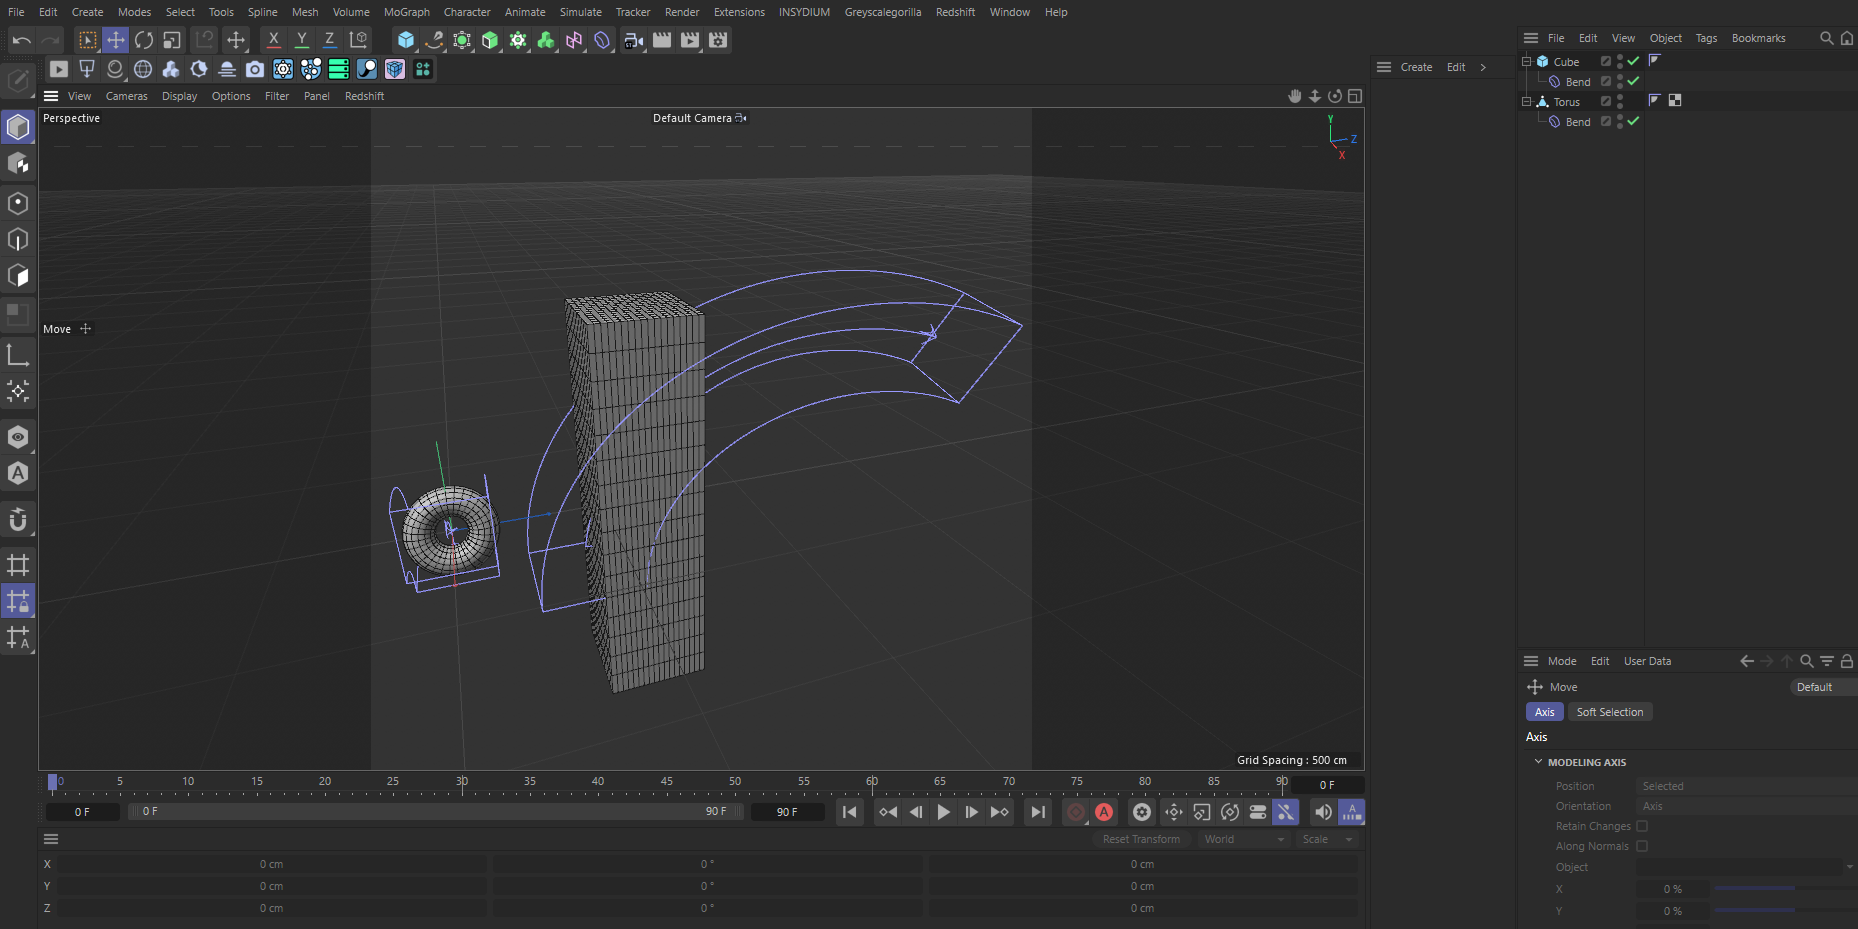
Right. New scene is working absolutely fine. I even copy pasted geometry from this scene to another scene and all went fine. I didn't do anything special in this scene. First just added a torus, increased its horizontal and vertical divisions. Then added the bend deformer. Didn't work. Then I added a cuboid, and added a deformer. Didn't work. Then I just came here and asked.
0 -
A working solution is available here. I confirm that it works on my end. No conversion of materials is required. All the quixel materials show up automatically in redshift node based format.
https://redshift.maxon.net/topic/42170/modified-working-quixel-bridge-for-3-5-xx
Replace the file in your %C4D Install Directory%/Plugins/MSLiveLink folder: megascans_livelink.rar
0 -
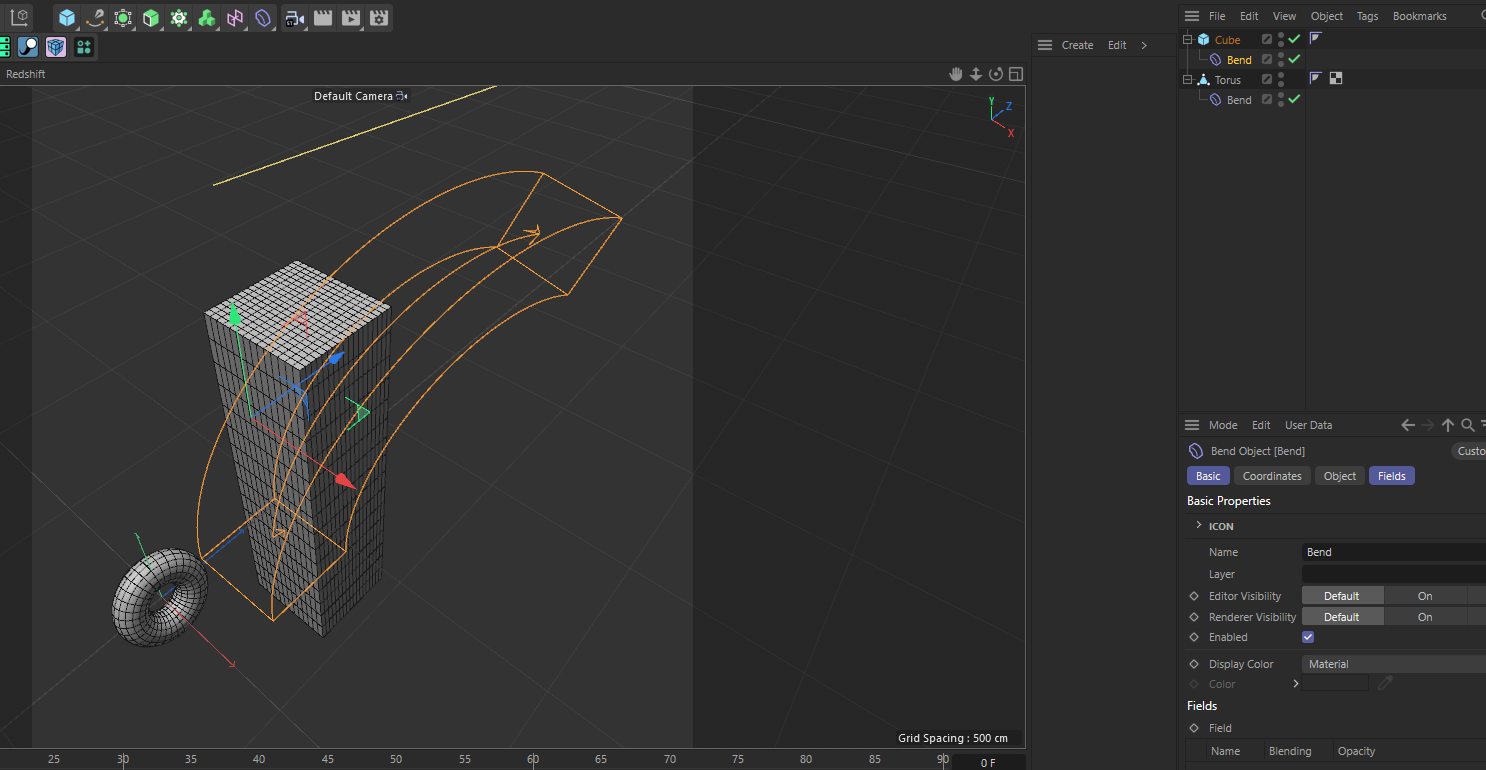
I have a cuboid that I am trying to bend but it's not bending. What could be the reason?
 0
0 -
How can reconnect a bunch of wires like this in Redshift node editor? The screenrecording is from a plugin called Grasshopper in Rhino 3D. Holding shift+ctrl and dragging the wires from the output allows such reconnections.
0 -
4 hours ago, Cerbera said:
put it down to quantum weirdness, and let it pass...
 Reminds of a quote
“Embrace Reality and Deal With It ..."
--Ray Dalio
0 -
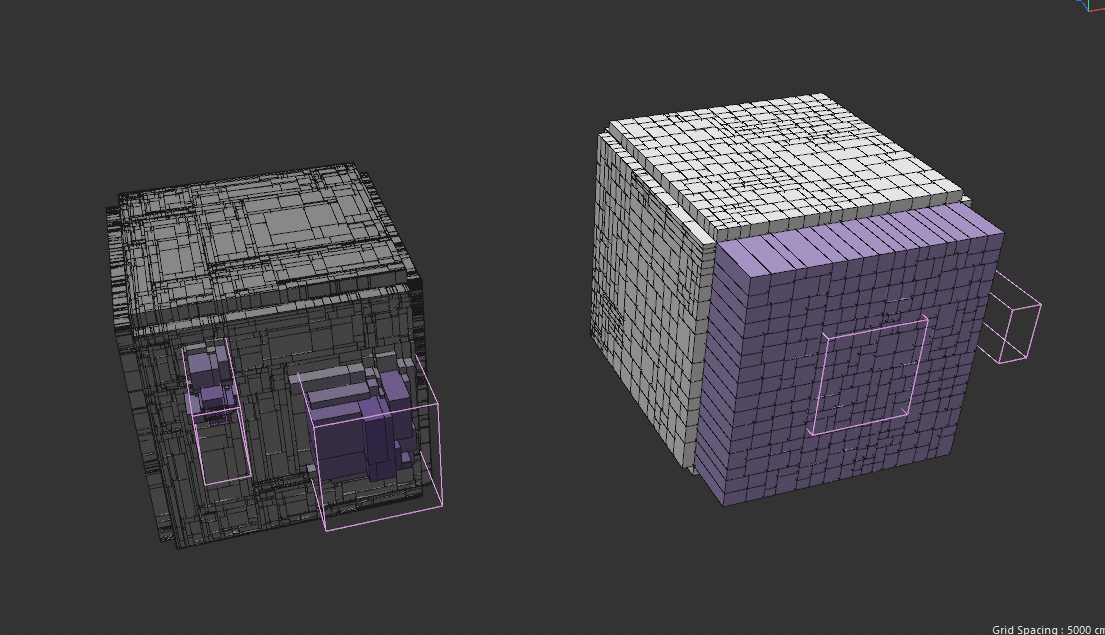
Okayyyy!! I get it now. Thanks a lot! I was able to solve the trouble in this one but not getting the exact results. The object on the left is a modified version from a tutorial file. The object on the right was made by me. The box field is not becoming active in a specific portion and is affecting a large area despite its small size.
What should I do to get the exact results like in the left part?
 0
0 -
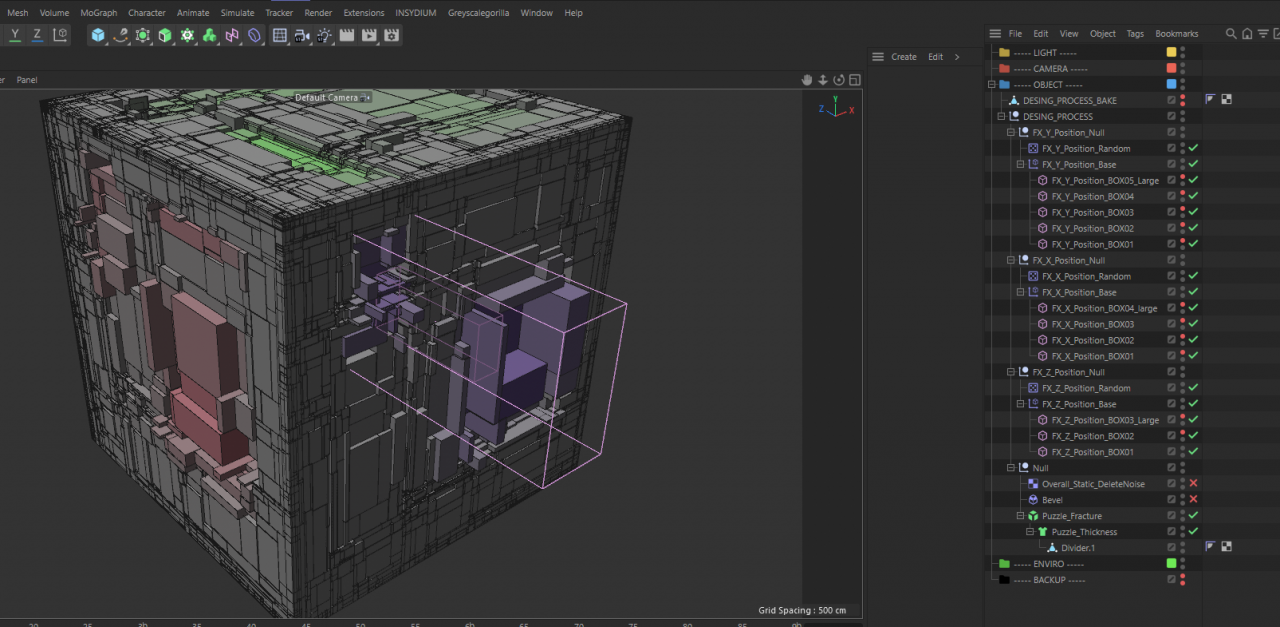
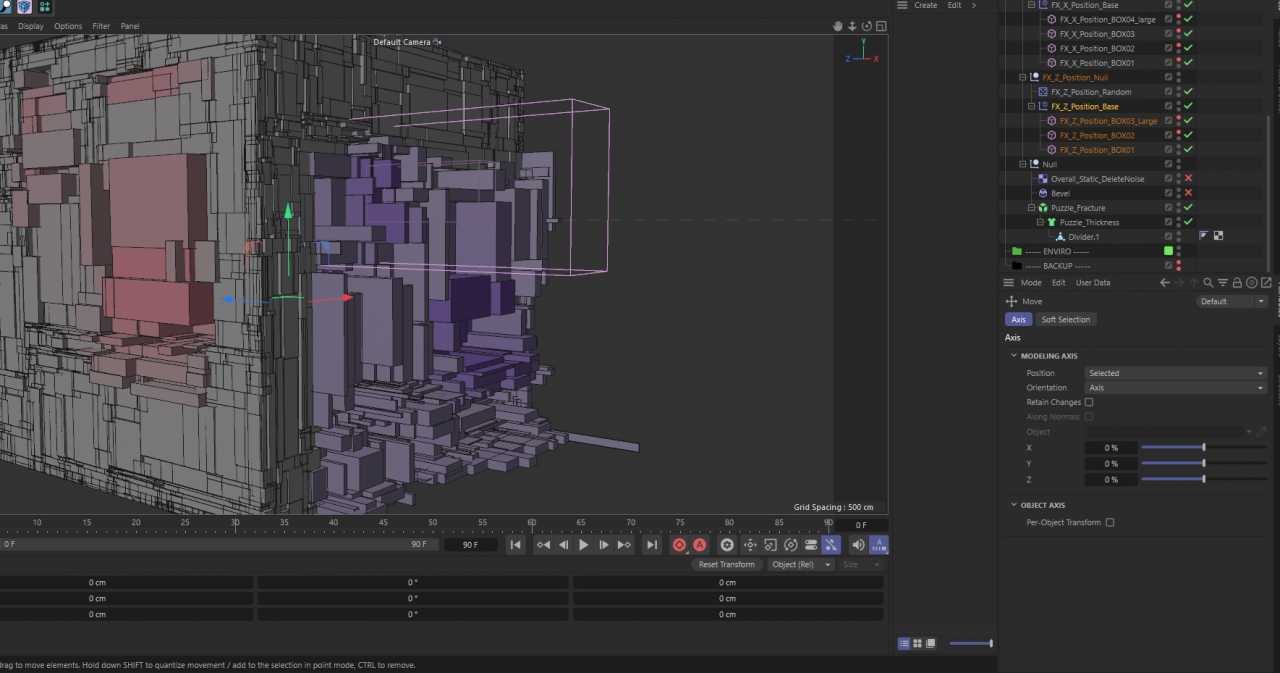
I have a set of objects on which plain effectors have been applied. While the effector works with field on one set but on the set of cubes on the right hand side, it doesn't work. Why is that? Moreover, when I check the properties/attributes of the plain effector, there is no mention of the set of cubes.
0 -
Alright. So I finally managed it. The command 'disconnect' is the key to solving this issue.
0 -
I see. That's quite weird. Divider plugin doesn't have any kind of control to disconnect panels. How are panels here connected in a group kind of system and disconnected at the same time? Mesh checker shows them as connected. However, when I go into polygon mode, I can select each of them separately.
0 -
41 minutes ago, Fritz said:
Check the lower right of your screen in the Attribute manager. Die traffic lights control a setting in the object settings.
Thanks a lot! That's exactly what I was searching for.
37 minutes ago, Cairyn said:If you toggle the visibility for the same objects repeatedly, I'd recommend adding them to a layer, where toggling is one click. If they can't be on a layer (e.g. because they are already on layers for different purposes) you can at least speed up the selection by creating a selection object to select them all, then use the attribute manager as Fritz says to change the visibility.
I see. That's a great idea too. I'll explore layers also.
0 -
In order to toggle the visibility of multiple objects, I have to drag my cursor on them. How can I toggle the visibility faster? Like selecting multiple objects and then changing their visibility instantly instead of manually clicking them one by one or using the drag-paintbrush method?
0 -
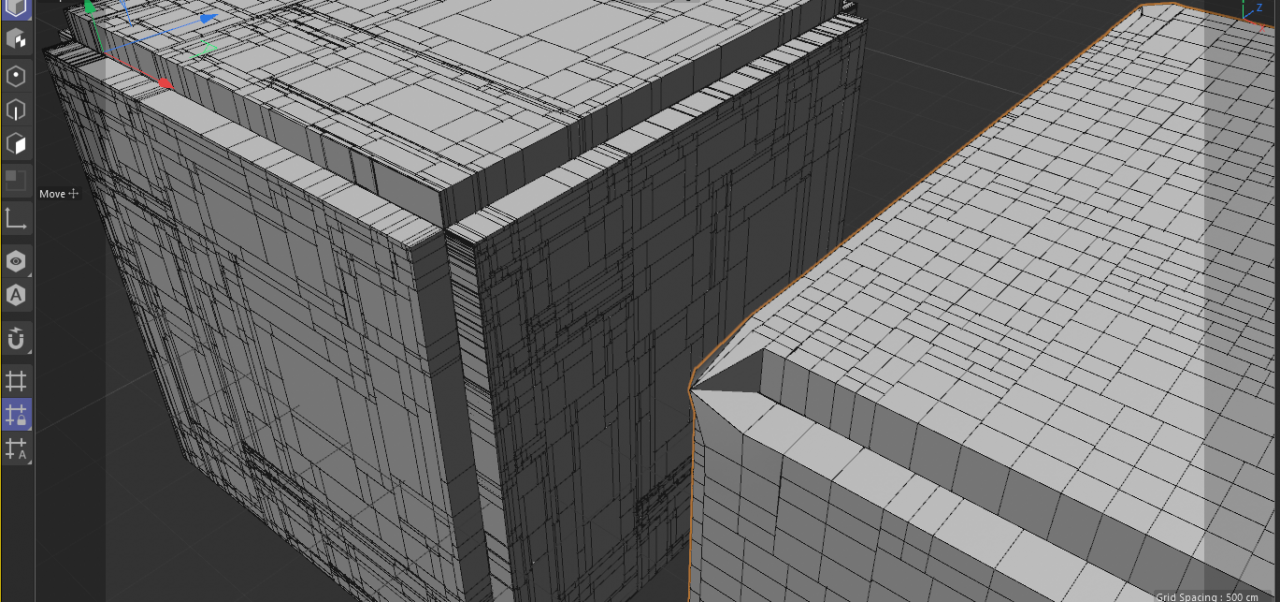
Oh. I see. I'm following this tutorial from which I got the cube which was split nicely. Eventually in the tutorial, these kind of results are generated. The tutor doesn't describe the detailed process of this in the video and skips some steps.
I am enclosing the original file shared in the course. I have not been able to figure out the clean extrusion of cubes.
 0
0 -
I have two cubes which were divided using the divider plugin. However, when I apply 'cloth' modifier on one cube, it gets perfectly thickened. However, when I apply this modifier on another cube, it begins to stretch from its corners. Why is it happening and how can I ensure proper thickening of the cube faces?
Here is the video recording of what exactly I encounter.
 0
0 -
Thanks. I copy pasted shortcuttable.res but that didn't restore my shortcuts. Then I recreated them from scratch. I'll now create a separate folder for preferences. Learning the lessons of backing up the hard drive and settings the hard way after this disaster of corrupt hard drive struck me.
 0
0 -
8 hours ago, Cairyn said:
Your settings (and actually all user specific stuff like most plugin installations) reside in a separate directory that normally is in the <Username>/AppData/Roaming/MAXON directory and is named with a hex code, like "Cinema 4D V23_D0807BAB221". You can find out where it is by looking at the settings dialog, it's in the bottom line.
You can theoretically put that directory somewhere else, but I guess you haven't done that (or you'd know about it).
Sadly, the user directories are normally located on C too, so you probably just formatted all over it.
Awesome. Thanks a lot. I'm back with my customized layouts! I copy pasted the files from the folders like you have mentioned. Actually I did an image backup of my C drive. Unfortunately, I could not restore from the backup and kept running into blue screen errors. I can access all the files from the backup though.
So now I'm installing all software from scratch. Any way I can get back my customized shortcuts and redshift render settings templates as well?
0 -
Today I formatted my C partition that had all the software installed. However, I backed up C4D programme files in my external hard drive. How can I restore my cinema 4d shortcuts and workspaces back ?
Copy pasting and overwriting the folder from external hard drive >> "D:\Program Files\Maxon Cinema 4D R26\library\layout", then pasting it into my c4d installation didn't help.
0 -
In Sketchup, I can setup scenes that save the visibility states of objects and the view. Sharing a screen recording below.
Is there a similar technique in C4D that allows such workflow?
0 -
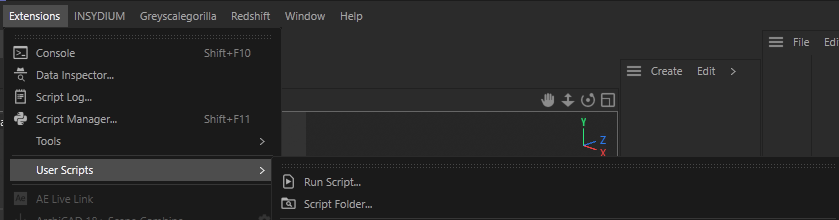
1 hour ago, Cerbera said:
Scripts are not run from there. I think you need Extensions menu / User scripts etc
CBR
Thanks a lot for this. This made me realize my mistake. Earlier, I created a new folder called scripts and pasted the files there. I should have pasted the script files in the scripts folder which is located inside the library folder. I clicked on the 'scripts folder' here and found my scripts folder empty.
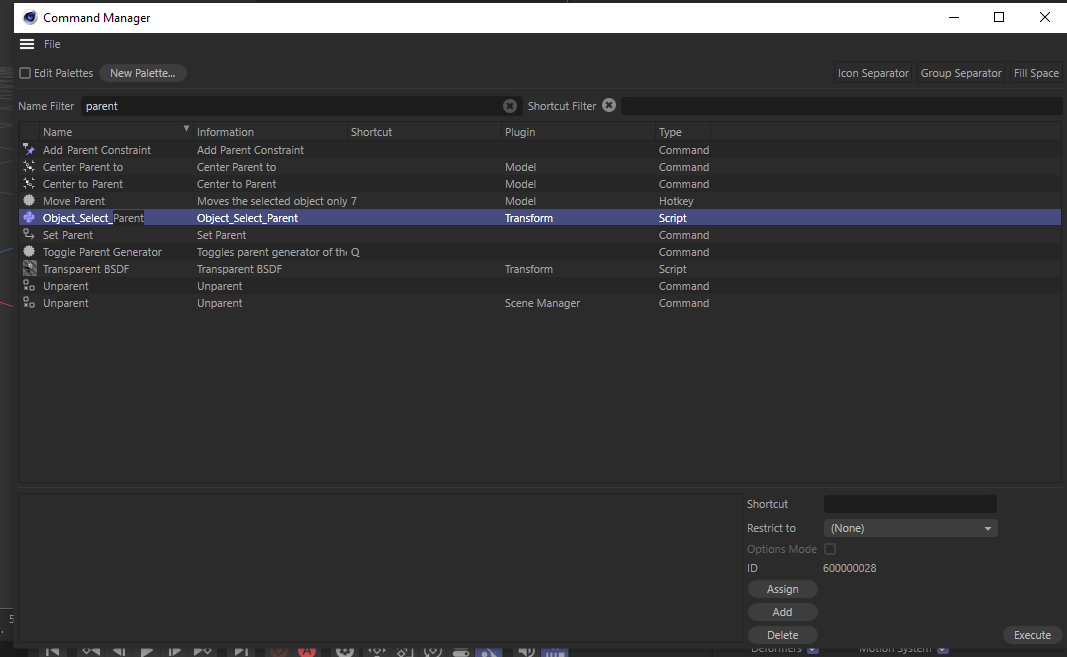
I searched in the command manager. Now the script is showing. I ran it. Works absolutely well. Thanks a lot @Cairynfor making these scripts. I'll try all of them!
I wish I could mark two posts as solution here.
 1
1 -
On 6/21/2022 at 4:38 PM, Cerbera said:
Although if you put objects in a Connect (weld off), that is easily selectable in vp, as is a null if you give it a clearly visible icon...
Thanks! I tried this method. It works really well.
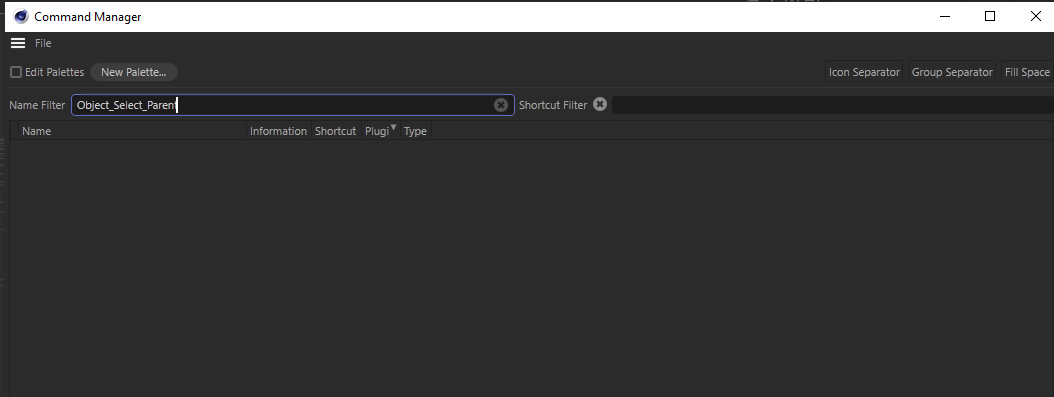
On 6/21/2022 at 11:11 PM, Cairyn said:There is one script called Object_Select_Parent. Put that on a keyboard shortcut.
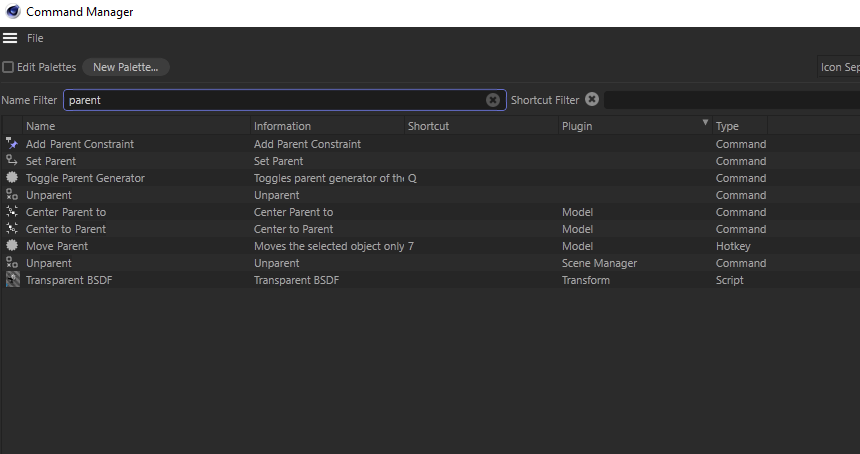
I have installed all the scripts in my scripts folder like this.
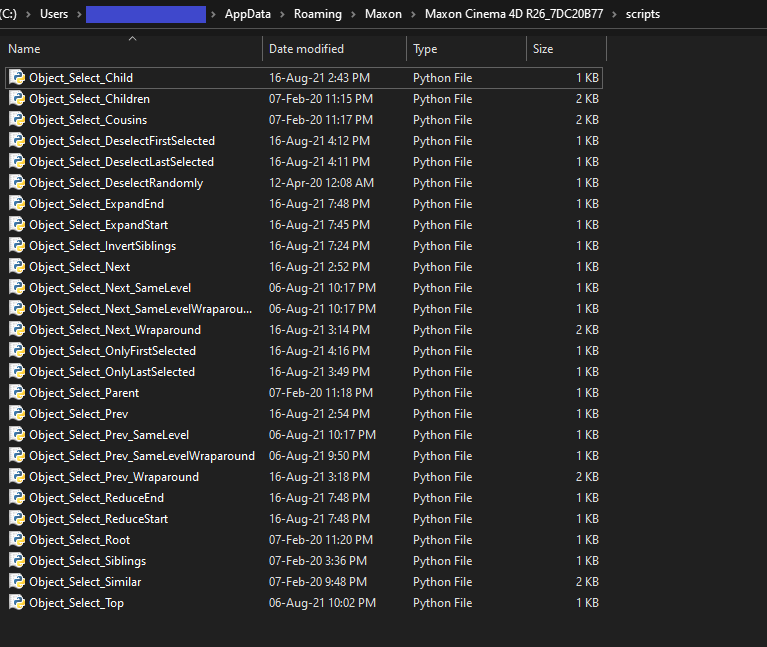
However, when I search for the script in my command manager, I don't find anything. What should I do? I am using Cinema 4D v26.
 0
0 -
3 hours ago, Cerbera said:
Not really. The usual way we select groups IS the object manager. Although if you put objects in a Connect (weld off), that is easily selectable in vp, as is a null if you give it a clearly visible icon...
CBR
Thanks. I'll definitely try this method and share my experience.
1 hour ago, MighT said:I guess, I will soon be called Tediousman, because that's what my suggestions are.
Yet, for completeness sake, I'd like to add two options:
- You can put objects on a layer and then drag the layer to the HUD. Right click in HUD and choose "Action->Enter Command...", enter "Select from Layer". Bamm! With just four clicks and entering 18 characters (incl. space and return...), you can now click the layer in the HUD to select its objects.
- You can use the Selection Object (Menu: Select -> Selection Filter -> Create Selection Object) in a similar way. A wee bit simpler. Drag the Selection Object to the HUD. Double click its icon to select the objects.
Nobody said, life is easy. And I'm of the firm opinion, you got to know the complex stuff to cherish the simple solutions.
This looks quite complicated and even slower than selecting the objects from the object manager. It will probably take me 20-30 minutes to understand how this entire process is to be done. Do you actually use this method in your daily workflow?
0 -
Is there a way to group objects in such a way so that when I click on any of the object in the group, the entire group gets selected. I have to manually select the null of the group in the object manager to select the entire group.
Sharing a screen recording of Sketchup in which I make similar selections.
0 -
13 hours ago, Cerbera said:
'HDRI on a dome light' is about the laziest and least art directable way of lighting anything, but there's no denying its usefulness as a starting point because it allows you to generate a whole world of reflections and lighting irrespective of what else is (or isn't) in the scene. But the artists producing really good work will rarely be relying on that alone - they will also have a lot of skill and experience in setting up photographic style lights and cameras, reflectors and shadow casters, daylight systems and the more art directable / physical ways of lighting things. That is not to say that sometimes the ideal lighting won't be very simple, but you should definitely learn all the light types in your renderer of choice, and how to set them up realistically so that you have maximum flexibility with your approach.
CBR
Thanks CBR. Will keep that in mind.
13 hours ago, MJV said:You can use those for inspiration but that's all. I think you first should know how to use real hdri lighting in a dome light with global illumination as well as standard Redshift lights. Then if you want to learn cinematic style lighting I would study real world cinematic lighting, I'm sure there is no shortage of stuff on YouTube, and then try to incorporate those ideas in your 3d.
Sure. I'll dig Youtube more. Just realized that real world lighting also has placement, size, colors and intensities of lights that I can replicate in Redshift. I was just getting worried for no reason yesterday. Thanks.
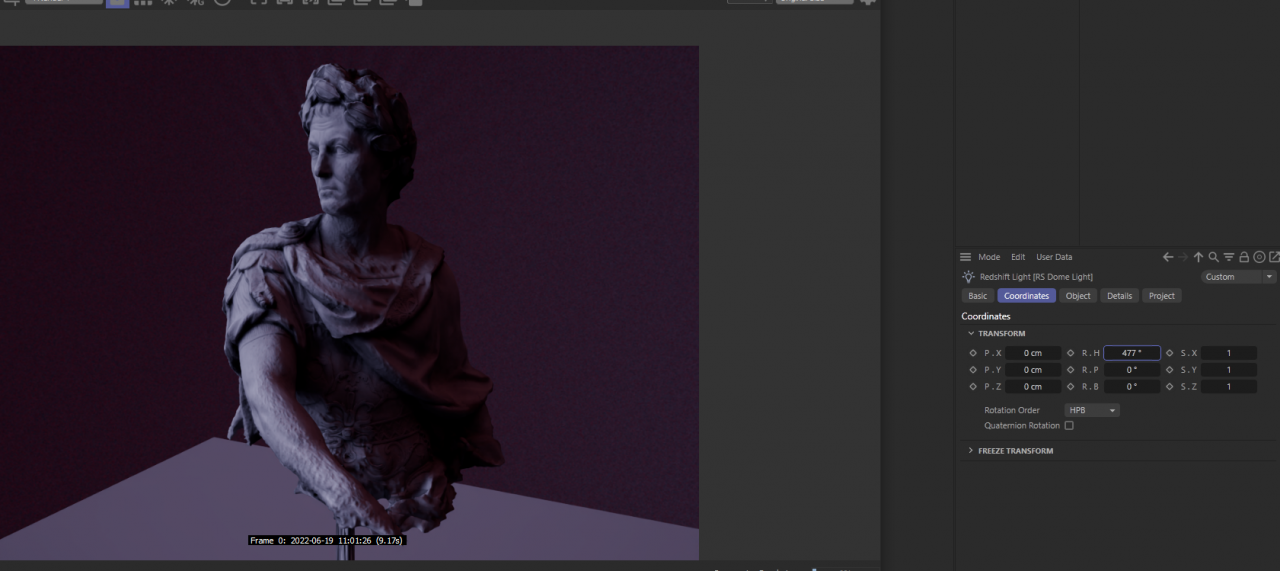
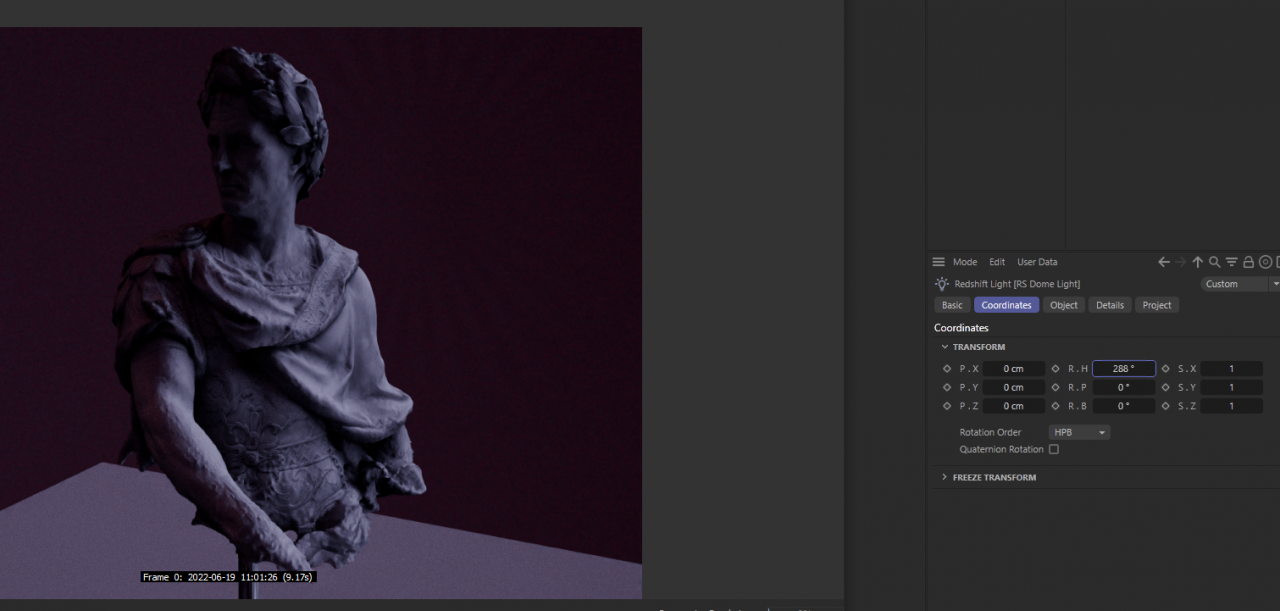
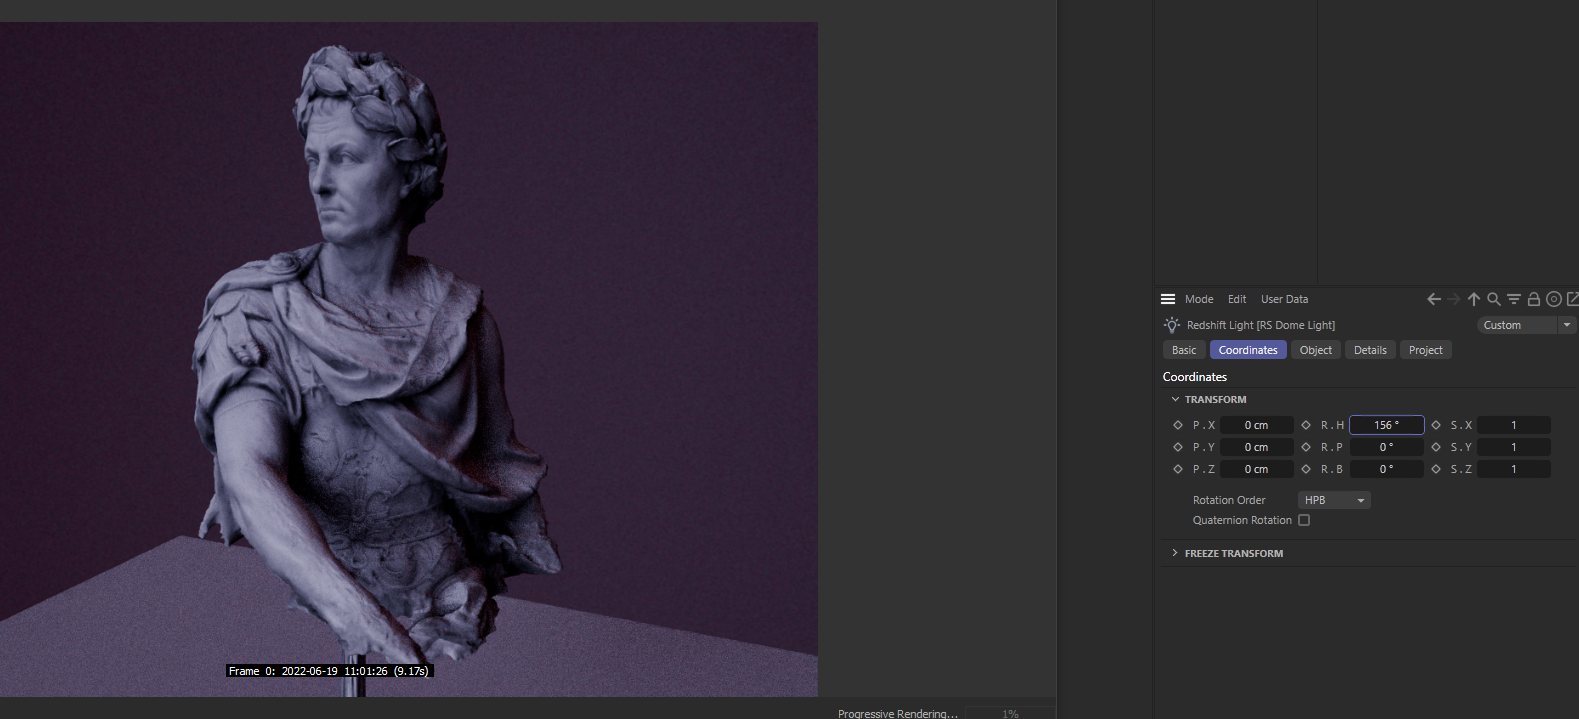
12 hours ago, adrencg said:I have a three point lighting setup HDR I made in Blender and I've been using to great effect for a few years now. I find that an HDR image that's filled in every area makes most renders very evenly lit, which is not my personal preference. I like dramatic lighting and find that a black HDR with a couple of bright spots looks more to my taste.
The HDR file is below if you want to try it in your Redshift dome. I always start every scene with this hdr. Rotate it until you find the right look. (and turn down saturation in image settings of light panel). Sometimes I may add a couple of supplemental area lights for some backlight to punch up some SSS, but this image is always my base lighting.
Interesting lighting setup I must say. Just tried it out. Why do you choose a maroonish vibe in it?
 0
0


Mismatch between framerange and final frame output stats
in Cinema 4D
Posted
In the render output settings, when I change my framerate to 30, the frame range matches with the final output of frames.
However, when I change the framerate to 24, there is a mismatch between those values. Why is that?